
 EN
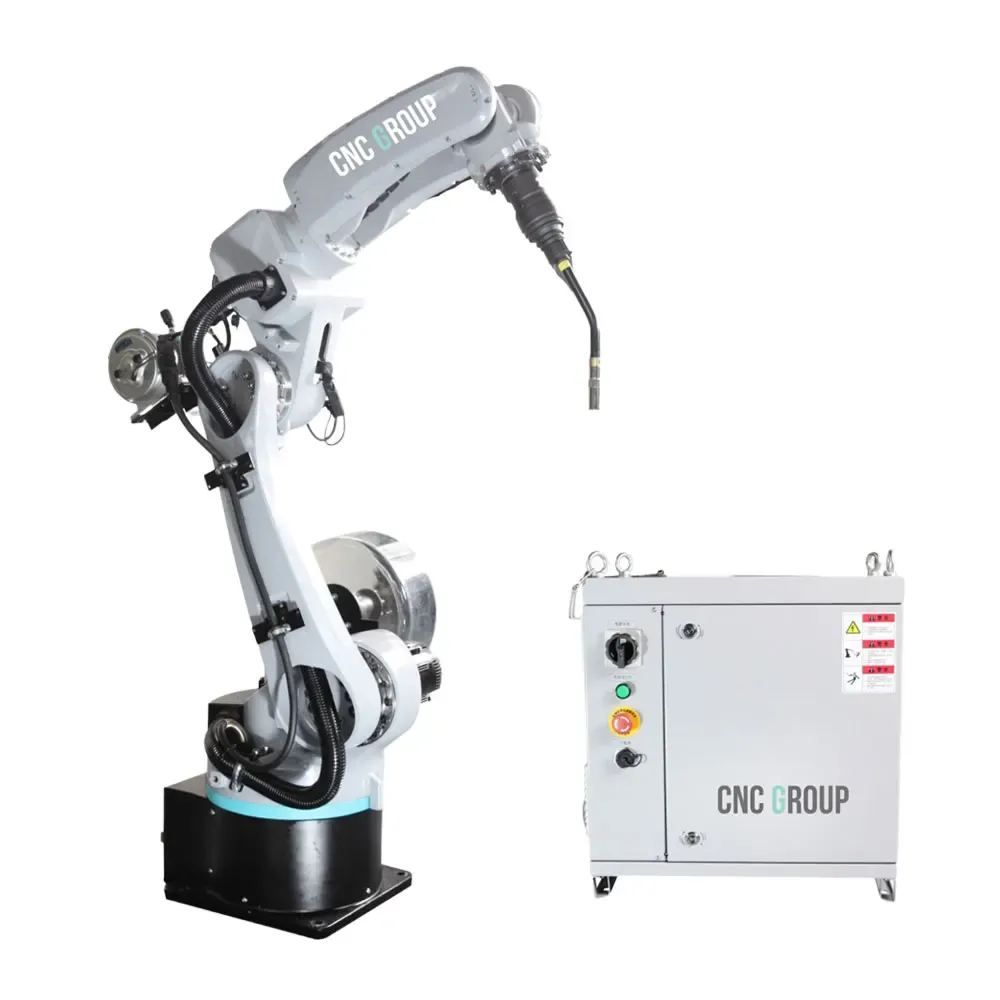
Robotic arm welding fails in predictable ways, and most stoppages trace back to the consumable, the ground, or the calibration rather than the robot itself. A contract fabricator in Ohio lost a whole morning to arc interruptions on a cell that had welded clean the day before. Robotic arm welding rewards a calm fault tree: check the cheap parts first, read the alarm, and only then question the program. That order saved the shift and the customer shipment.
A Plant Stops the Arc Interruptions
When the Bead Kept Breaking Mid-Seam
The cell dropped the arc every few parts, leaving short cold laps the inspector caught at the end of the line. Robotic arm welding depends on a steady contact-tip distance, and the liner had worn enough to let the wire wander. Swapping the liner and re-setting the tip gap restored the bead within one changeover, and the cold laps stopped appearing on the rack by the next run. Robotic arm welding also logged the arc-fault count that morning, which is how the liner wear showed up as a trend instead of a surprise. Robotic arm welding that tracks the fault count this way also tells the planner when to stock liners, so the next wear spike never becomes a same-day rush order.
A Calibration Drift That Fooled Everyone
A second fault looked like a program error: the seam crept half a millimeter off the joint by Friday. Robotic arm welding repeated the same taught path, but the robot had drifted from its last calibration, so the path no longer matched the fixture. A quick reference check confirmed the drift, the arm was re-zeroed, and the seam landed true without touching the saved program or the fixture. Robotic arm welding that repeats a drifted path looks correct on the screen, which is why a reference check beats a guess. Robotic arm welding on a Friday drift is easy to misread as a fixture problem, so the reference check protects both the program and the tooling from a needless rework.
What Goes Wrong First
Wire Feed Jams and Poor Ground
Most robotic arm welding faults start at the wire path. A kinked liner, a worn drive roll, or a contact tip past its life causes burn-back and inconsistent arc. A poor ground clamp is the quiet classic: resistance rises, the arc wanders, and the weld looks fine one part and rough the next. Check the ground connection and the tip before blaming the power source or the robot. Robotic arm welding that starts each shift with a ground check avoids most of these false alarms on the floor.
Torch Collision and Spatter Buildup
A bumped torch or a stack of spatter changes the tool-center-point, so the bead sits proud or misses the seam. Robotic arm welding should run a collision check after any crash, because the arm may still repeat the path perfectly while pointing at the wrong place. Clear spatter from the nozzle and tip at shift start, and treat a post-crash weld as suspect until a first article proves it true against the fixture. Robotic arm welding that skips this step after a crash is the usual source of a weld that passes the eye yet fails the bend test later in the week.
Reading the Fault Before It Repeats
ISO 9283 Performance and Repeatability Checks
ISO 9283 defines how to measure a robot's pose accuracy and repeatability, which is the number to watch when a seam drifts. Robotic arm welding stays trustworthy only if the arm repeats within its spec, so a quarterly check against the ISO 9283 method catches drift before it reaches the part. The test is quick compared with the cost of a week of off-joint welds that pass inspection too late to fix cheaply.
Alarm Logs and First-Article Traces
A good cell logs every alarm with a time stamp and the weld schedule in use. Robotic arm welding turns those logs into a lead indicator: a rising count of arc-fault alarms points to a liner or a ground before the bead fails. Pair the log with a first-article check at each changeover, and the fault shows up in data instead of in a customer return weeks later on the dock. Robotic arm welding that pairs the log with a photo of the first article gives quality a clean audit trail, which customers ask for more often as traceability rules tighten.
Best Practices on the Floor
A Weekly Troubleshooting Routine
Spend fifteen minutes each week on the things that fail most. Robotic arm welding stays healthy when the liner, tip, and ground are checked on a fixed day, not when the arc dies mid-shift. Walk the cable dress for rub points, verify the gas flow, and skim the alarm log for a trend. ANSI/RIA R15.06 expects the safety stops tested on a schedule, so fold that into the same routine. Robotic arm welding stays cheap to run when the fifteen minutes lands on the calendar, because the faults it catches cost an hour each once the arc dies mid-shift.
Consumables, Calibration and Training
Keep a consumables kit at the cell and log every tip and liner change with the part count. Robotic arm welding drifts fastest when a worn part is run past its life, so change on a count, not on a failure. Re-zero the arm on the ISO 9283 cadence, train operators to read the alarm rather than reset it blind, and NFPA 79 with IEC 60204-1 keep the electrical side safe during any service call. Robotic arm welding also improves when operators learn to read the alarm text, since a blind reset hides the trend that the log was built to show.
Frequently Asked Questions
Why does robotic arm welding lose the arc mid-seam?
Robotic arm welding usually loses the arc from a worn liner, a spent contact tip, or a poor ground that raises resistance. The wire wanders and the arc drops. Check those cheap parts and the ground clamp first, then read the alarm log, before questioning the saved program or the power source on the cell.
How often should a welding robot be calibrated?
Calibrate on a fixed cadence, such as quarterly against ISO 9283, or after any crash and re-zero. Robotic arm welding repeats the taught path, so a drifted arm points at the wrong place while looking correct. A quick reference check catches it before off-joint welds reach inspection or the customer line.
What causes spatter and a proud bead?
Spatter and a proud bead come from a changed tool-center-point after a crash or from a clogged nozzle and tip. Robotic arm welding should run a collision check and a first-article after any bump, because the arm may repeat perfectly while the torch sits proud. Clear spatter at shift start to stay on the seam.
Which standards guide robotic welding troubleshooting?
ISO 9283 covers robot performance measurement, AWS D1.1 covers steel weld acceptance, and ANSI/RIA R15.06 with ISO 10218 cover safety. NFPA 79 and IEC 60204-1 guide electrical service, while OSHA 29 CFR 1910.252 adds welding ventilation and fire rules during any fault work on the cell.
Can a poor ground really ruin robotic arm welding?
A poor ground clamp is the classic silent fault in robotic arm welding: rising resistance makes the arc wander, so the weld looks fine one part and rough the next. Check the ground connection and resistance monthly, because a bad ground fools everyone into blaming the robot or the program first.
What weekly check prevents most stoppages?
Spend fifteen minutes on liner, tip, ground, gas flow, and the alarm log, plus the safety-stop test per ANSI/RIA R15.06. Robotic arm welding stays healthy when those cheap parts are checked on a fixed day. Log every consumable change with a part count so wear stays predictable, not surprising mid-shift.